Dockering GNU Radio for Easy Development Setup
Setting up a GNU Radio environment for a software-defined radio project can be a challenging task, with various dependencies and compatibility issues across different operating systems. However, there’s a solution to simplify this process with FIT/CorteX lab. In this blog post, we’ll explore FIT/CorteX lab, an open-source platform that addresses the issues of reproducibility and provides an easy way to have a GNU Radio environment up and running for development. By leveraging Docker, we can achieve the dream of dockerizing GNU Radio and enjoy the additional benefits of FIT/CorteXlab. So, let’s dive in and learn how to leverage this free and powerful platform.
The Power of FIT/CorteXlab
FIT/CorteX lab is an essential testbed of the Future Internet of Things (FIT) initiative. It offers numerous use cases, which you can explore in their comprehensive documentation. However, in this blog post, we’ll focus on the aspect of reproducibility and how FIT/CorteXlab simplifies the setup of a GNU Radio environment, enabling easy project replication and returning to past projects on your local machine.
Getting Started: Docker and GNU Radio
To begin, you’ll need to install Docker on your local machine. Visit the Docker website and follow the installation instructions. Docker is supported on Windows, macOS, and Linux, making it versatile for various operating systems.
GNU Radio has different major versions, and FIT/CorteXlab takes this into consideration. You can find a list of Docker images available with support for different GNU Radio versions on the FIT/CorteXlab website. In this blog post, we’ll focus on the Linux OS (Ubuntu 18.04 LTS), but the general steps can be adapted for other operating systems with additional research.
Step 1: Pulling the Docer Image
Open a terminal and execute the following command to pull the Docker image of your choice. For example, we’ll use the m1mbert/cxlb-gnuradio-3.10:1.2 image for GNU Radio version 3.10.
docker pull m1mbert/cxlb-gnuradio-3.10:1.2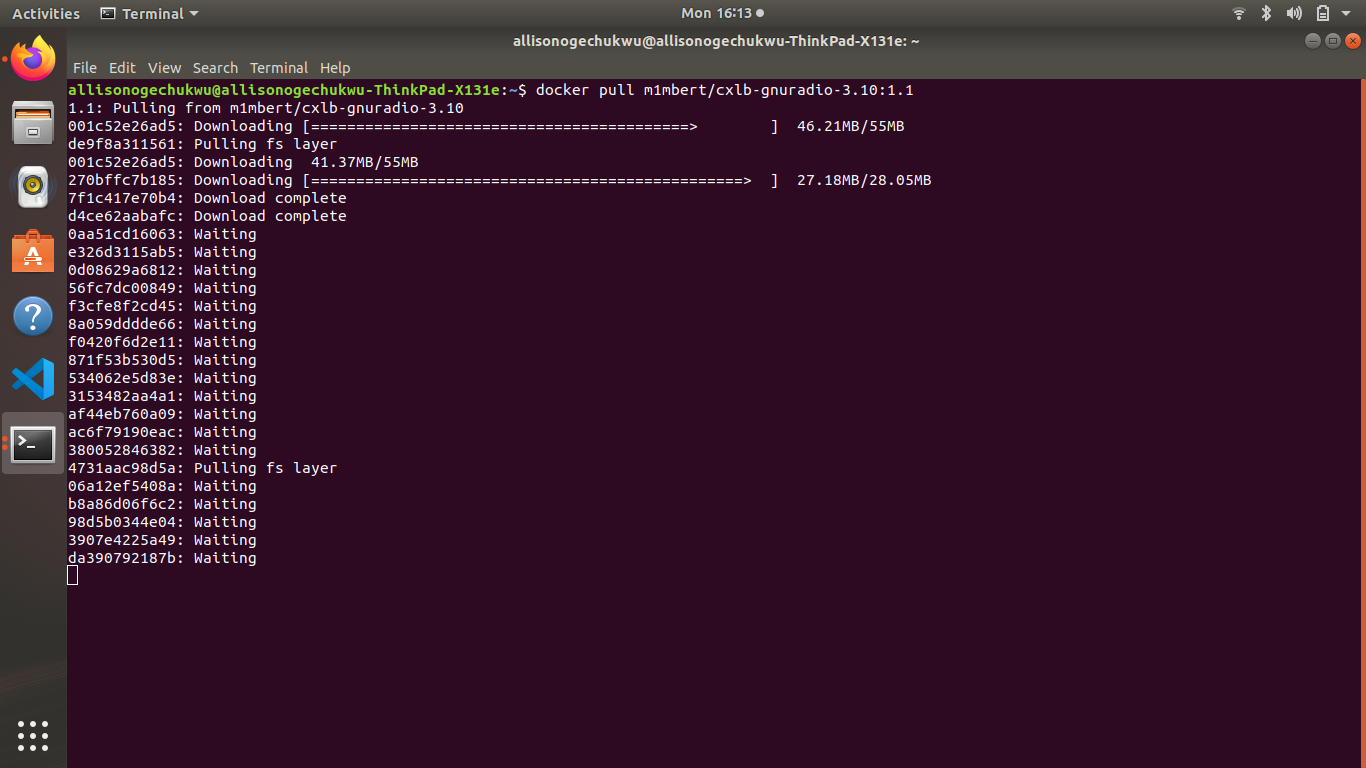
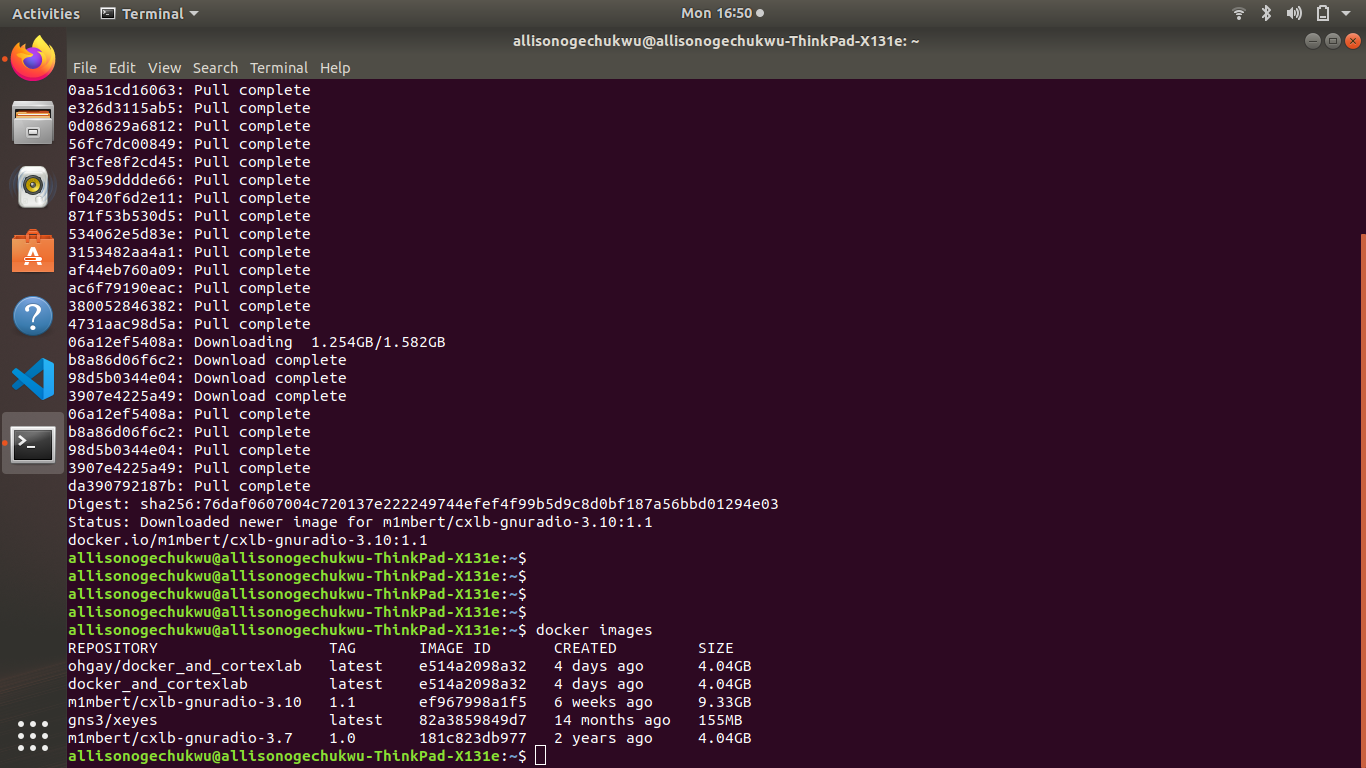
This command downloads the Docker image to your local machine, ensuring you have the necessary environment to run GNU Radio.
Step 2: Running the Docker Image
Once the image is pulled, we can run it using the following command:
docker run -dit --net=host --expose 2222 --privileged m1mbert/cxlb-gnuradio-3.10:1.2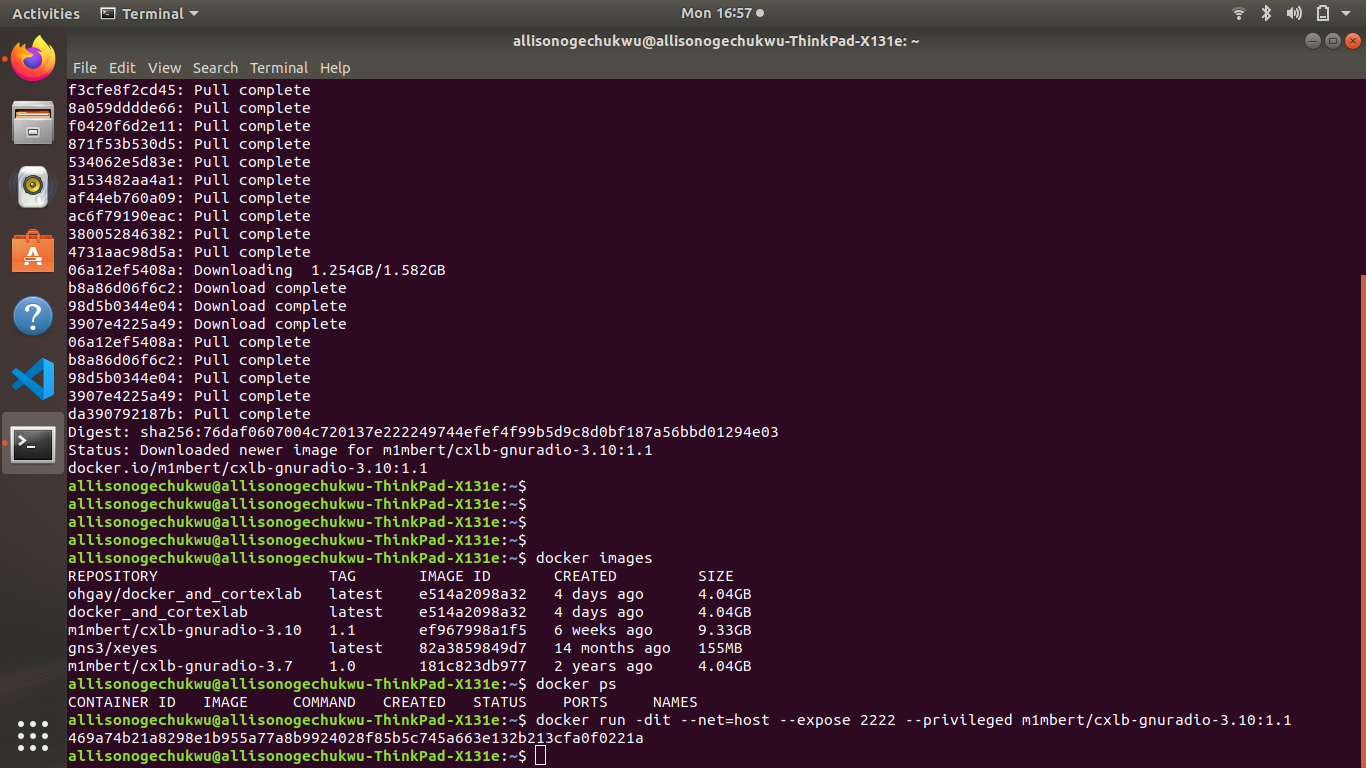
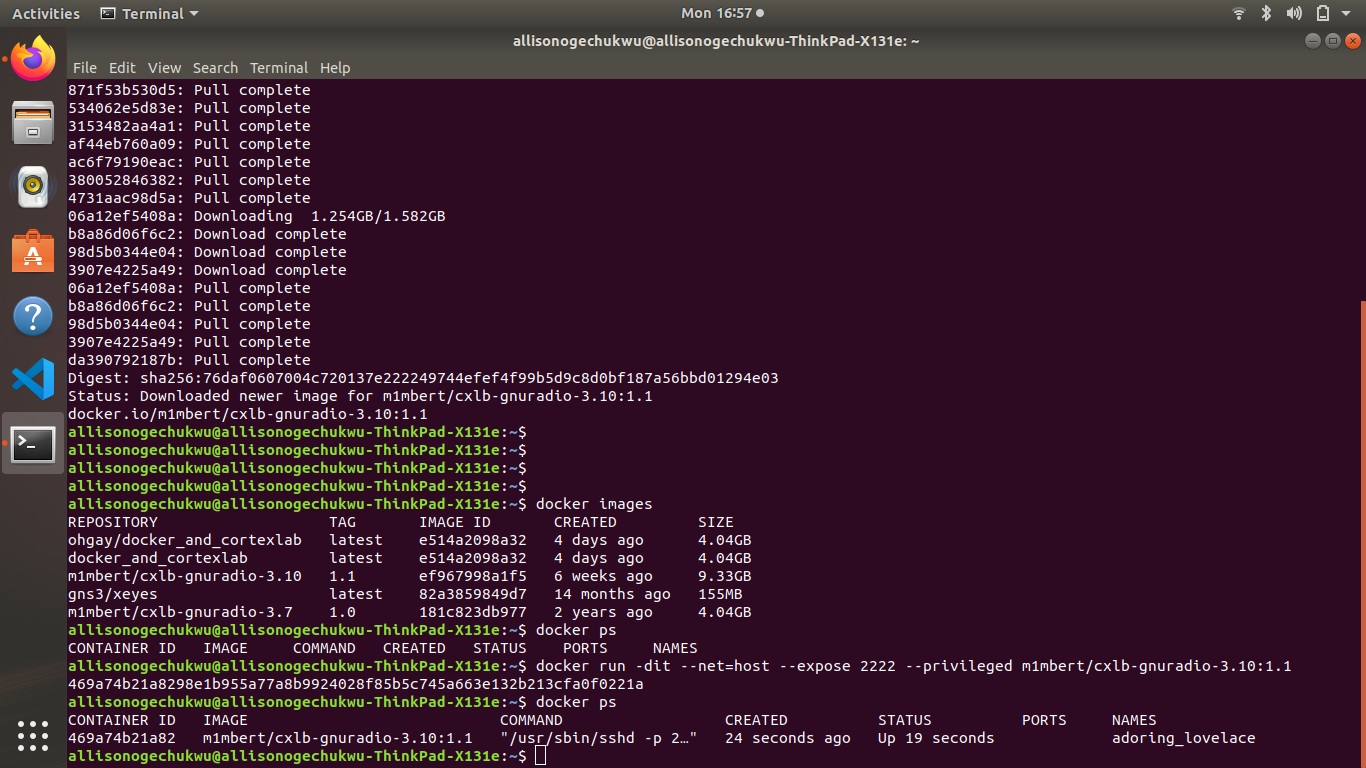
This command launches an interactive container that is connected to the host network and exposes port 2222. Verify that the container is running by executing the docker ps command.
Step 3: Connecting to the Container
To connect to the running container, use the SSH command with the following parameters:
ssh -Xp 2222 root@localhostAssuming everything went smoothly, you should now be inside the running container with GNU Radio version 3.10 installed. You can verify the installation by running the gnuradio-companion command.
Conclusion
Congratulations! You have successfully set up a development environment with FIT/CorteXlab and Dockerized GNU Radio. This powerful combination simplifies the GNU Radio setup process and ensures reproducibility of your projects. By leveraging FIT/CorteXlab, you can easily return to past projects and share your insights with the community.
I hope this blog post has been insightful and valuable to you. Feel free to engage with the post in the comment section below. Au revior 👋.